LAUNCH CRP129 Premium CReader Professional 129P OBD2 Code Reader Scanner
CReader Professional 129P
Language options:ENGLISH, German, French, Italian, Spanish & Russian
DESCRIPTION:
The CRP129 Premium accesses Engine, Transmission, ABS and Airbag (SRS) systems. It features an intuitive interface and supports the latest OBD II test modes 1-10. Graph, record, and playback crucial data to more efficiently diagnose drive-ability issues.
The CRP 129P has the capabilities of the CRP 123P, plus more features such as reset capabilities for Steering Angle Reset, Oil Maintenance Reset and Electronic Parking Brake (EPB) and a Battery Reset.
FEATURES:
1.Performs Oil service light resets, Electronic Parking Brake (EPB) release, and Steering Angle Sensor (SAS) resets and Battery Reset
2.Enhanced Manufacturer Specific DTCs for Domestic, Asian and European Coverage
3.Reads and Records enhanced Data Streams for ABS, SRS, Transmission and Engine
4.Auto Vehicle ID, Auto Module Search & Fast Protocol ID
5.Reads and clears codes on Engine, Transmission (A/T), ABS, and Airbag (SRS) systems – on all makes and all models (16 Pin)
6.Support for all 10 test modes of OBD II with Enhanced OBD II Mode 6
7.Retrieves generic and manufacturer specific codes current, permanent and pending
8.View freeze frame data and I/M Readiness monitor status
9.Graph, record, and replay data in full color
10.Menu with DTC definitions in English, Spanish & French
11.Free Internet updates (USB 2.0)
12.Intuitive Interface and Button Operation with Sleek, Rugged Design 4.0” TFT full color display

Supported Brands
Acura
Alfa Romeo
Audi
Benz
BMW
Chrysler
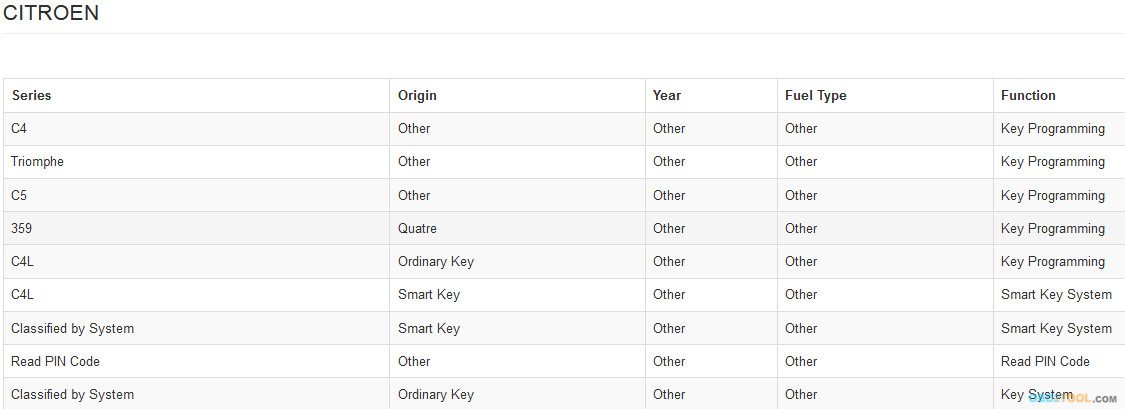
Citroen
Dacia
Daewoo
Ford (EU & AUS)
Fiat
GM
Honda
Holden
Hyundai
Infinity
Isuzu
Jaguar
Kia
Lancia
Landrover
Lexus
Mazda
Mini
Mitsubishi
Nissan
Opel
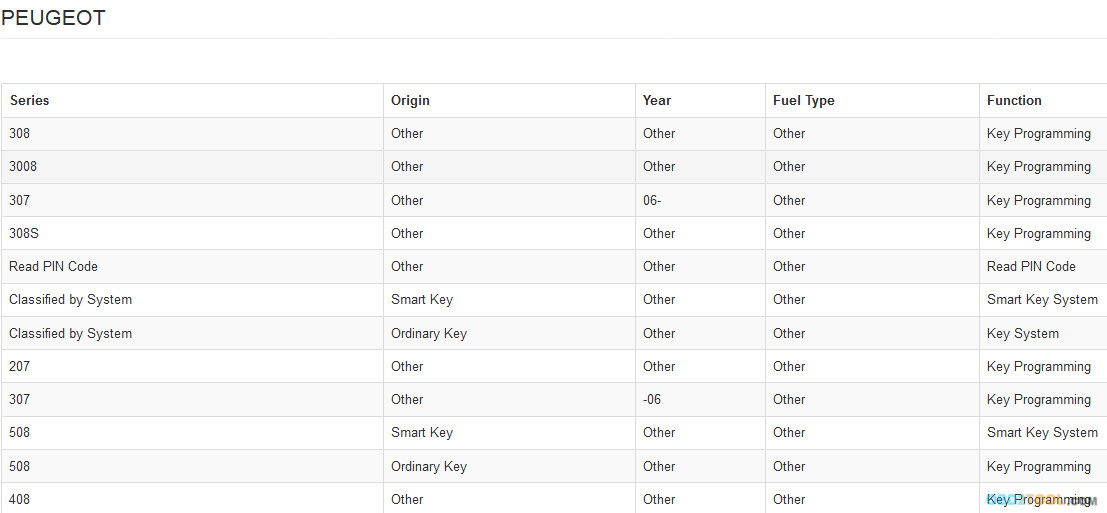
Peugeot
Porsche
Renault
Saab
Seat
Skoda
Smart
Sprinter
Subaru
Suzuki
Toyota
Vauxhall
Volvo
VW
Do your inspection itself?
Then, the OBD2 Code Reader CRP 129 Premium is the ideal tool for you. It can, for example, Open the Electronic Parking Brake and and close, it put the oil lamp
(Service indicator) back, or Calibrated e.g. Your steering angle sensor.
Even the Austasch the starter battery is there no longer a problem. Since the CRP can perform 129 Premium also the activation, or encoding function.
the following vehicle brands are supported:
Alfa Romeo,Acura,Audi,BMW,Chrysler,Fiat,Ford (Aust. & US),GM,Holden,Honda,Hyundai,Infiniti,Isuzu,Jaguar,Kia,Land Rover
Lexus,Mazda,Mercedes Benz,Mitsubishi,Nissan,Opel,Porsche,Saab,seat,Scion Toyota,Skoda,Smart,Sprinter,Subaru,
Suzuki,Volvo,VW
all other manufacturers are supported in OBD2 compliant section (Engine & Transmission)
Your vehicle brand is not listed, or you find another diagnostic system?
Please contact us, we will advise you before buying.
The CRP129 Premium from WBTOOLS can live data during operation read. The live display of sensor data is switchable, so that all relevant data are presented in various displays such as e.g .:
1.the temperature of the aspirated air
2.MAF / airflow
3.engine speed
4.vehicle speed
5.Position O2 sensor
6.Coolant temperature
7.Slow correction
8.Fast correction ……..
Depending on the vehicle used for other live data provided.
Advantages Convincing:
1.Can be used in vehicles from BJ 1996
2.Easy to read color display
3.Reads all error codes (general and manufacturer specific codes)
4.Deletes all codes in the control unit
5.Live Data Function
6.EPB parking brake function
7.configuration of the battery (Batterieanlernfunktion)
8.Service reset function
9.Easy to use six buttons
10.Standalone device, no batteries or laptop needed
11.updateable via Internet
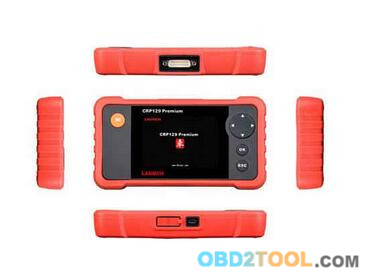
Technical specifications
size ~ 196 x 106 x 32 mm
Cable length ~ 800 mm
Display: LCD color 4 “backlit
Voltage range: 12Vdc, directly through the OBD interface
Connector type: Standardized 16 pol. OBD connector
Housing: plastic
Housing color: red / black
Support OBD II communication protocols: J1850 PWM, J1850 VPW, ISO9141-2, ISO14230-4, ISO 15765 (CAN)
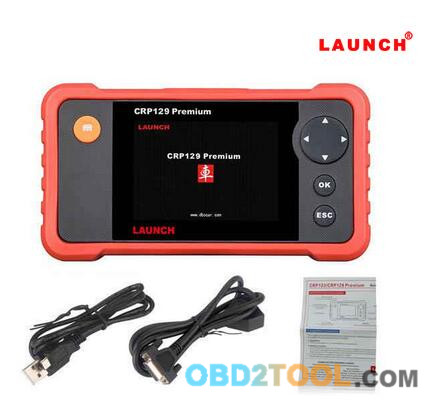
Packing List:
1x OBD diagnostic device model Creader Professional 129 Premium
1x 16 p